Typical scenario, you download the VMware ISO file, then you burn to USB and in your mind you’re thinking, it will take me few minutes to install and configure the system and then I will be doing other stuff and then BAMMM ERROR:
No network adapters were detected. Either no network adapters are physically connected to the system, or a suitable driver could not be located. A third party driver may be required.
Ensure that there is at least one network adapter physically connected to the system before attempting installation. If the problem persists, consult the VMware Knowledge Base.
You received this error because your network card is not support by VMware vSphere and no network drivers are included in the ISO installation media for your network card. There is a good chance that your network card manufactured by company called Realtek.
If that the case in this tutorial I will show you from where to download community supported Realtek drivers and how to include those drivers into an image.
I would not recommend use this solution in a production environment, because if VMware do not support Realtek netwok cards there is a good reason why.
This solution for those who want to install vShpere in a lab environment without buying VMware supported network card.
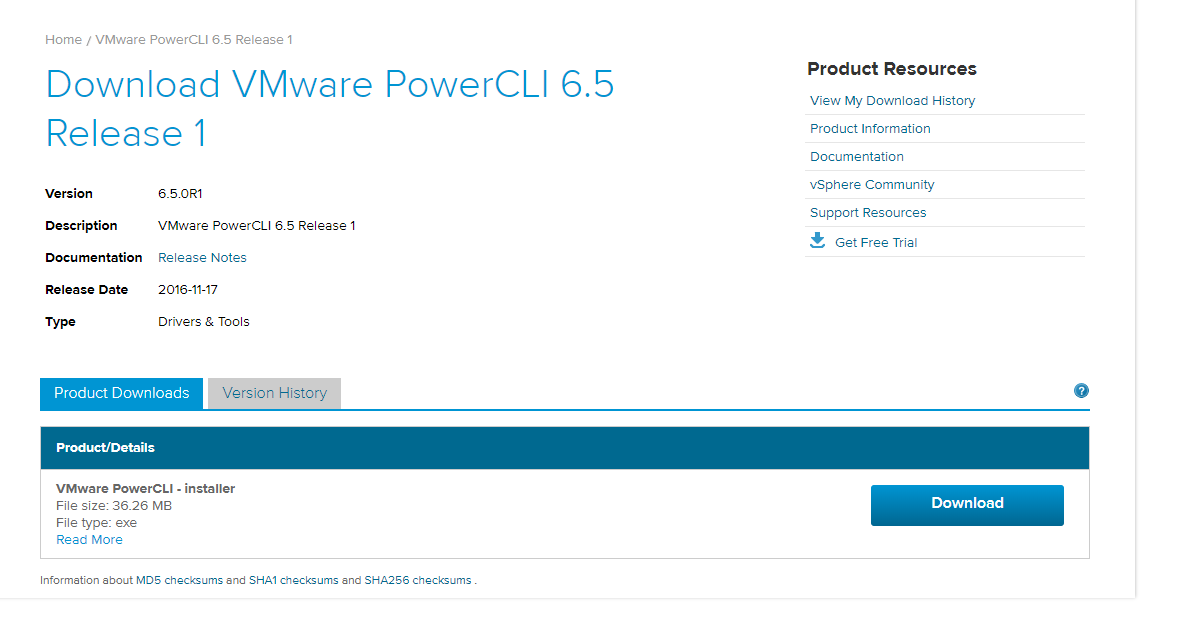
Step 1- Download and Install PowerCLI from VMware website
https://my.vmware.com/web/vmware/details?downloadGroup=PCLI650R1&productId=614
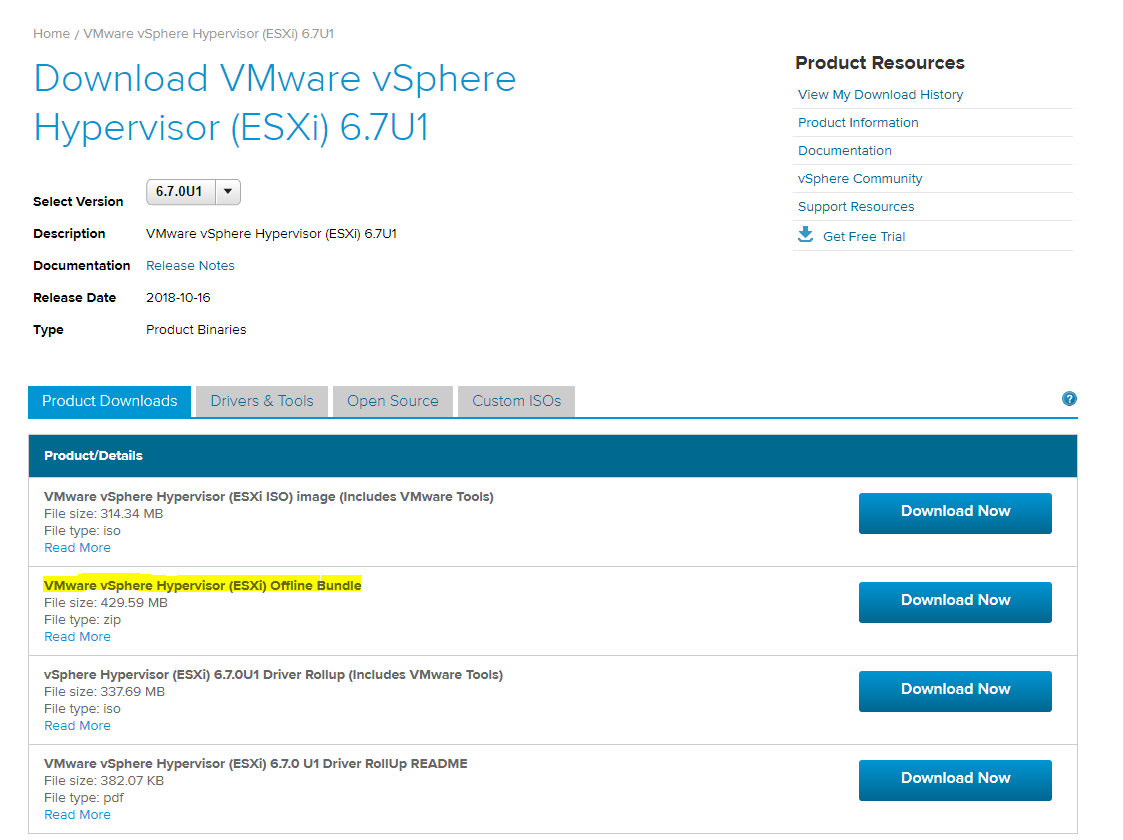
Step 2 – Downlaod VMware vSphere Hypervisor (ESXi) Offline Bundle
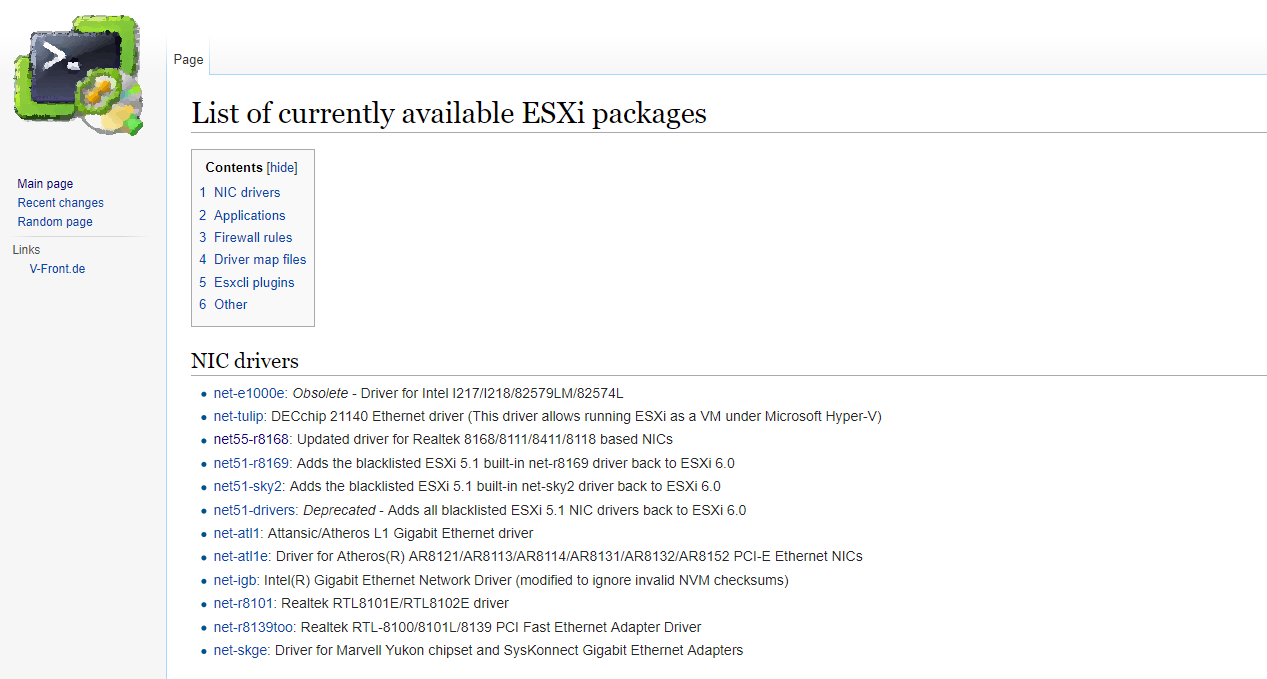
Step 3 – Download Realtek EXI Community Package Tools
In my case I downloaded Net55-r8168 driver
https://vibsdepot.v-front.de/wiki/index.php/List_of_currently_available_ESXi_packages
Step 4 – Create a new directory and place all files
Create a new directory with any name, I named mine MVSourceCode and copy the script and downloaded files into newly created directory
- VMware vSphere Hypervisor (ESXi) Offline Bundle
- Realtek Offline Bundle Version 8.45.a
- MVSourceCode.ps1 script (copy of the source)
You should have similar to the screenshot below:

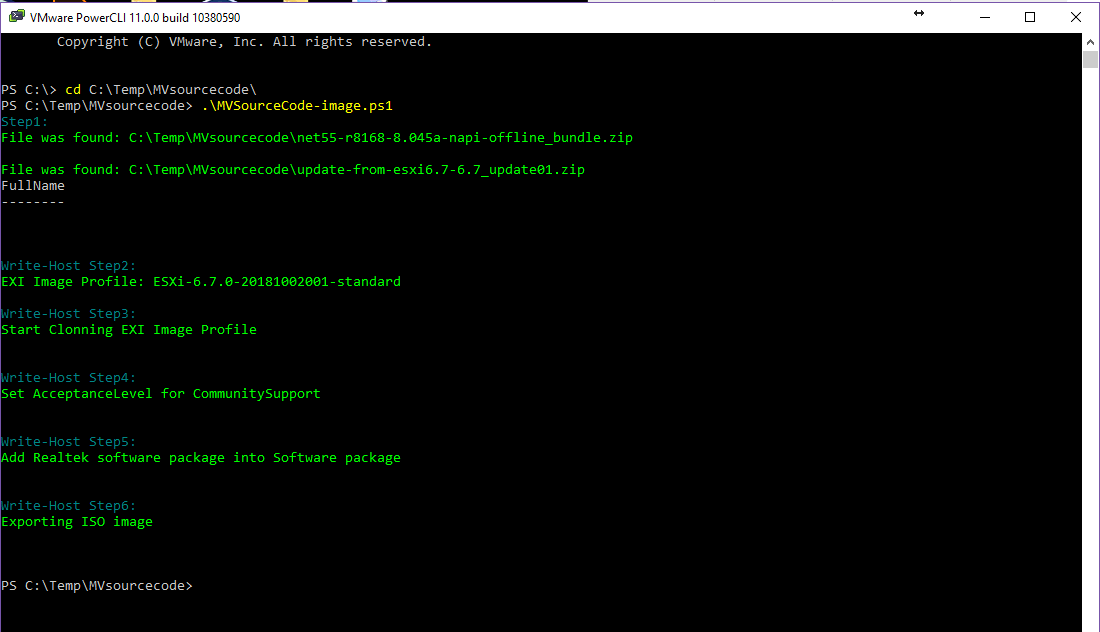
Step 5 – Open PowerCLI and run the Script
Right-click on PowerCLI icon and select Run as Administrator. Then you get terminal window change directory to were all your files are located and the run the script
Change directory – cd c:\Temp\MVSourceCode
Execute the script – .\MVSourceCode-image.ps1
In the script output now you should see steps of execution, if no error you should have all lines green and an ISO file created in the same directory.

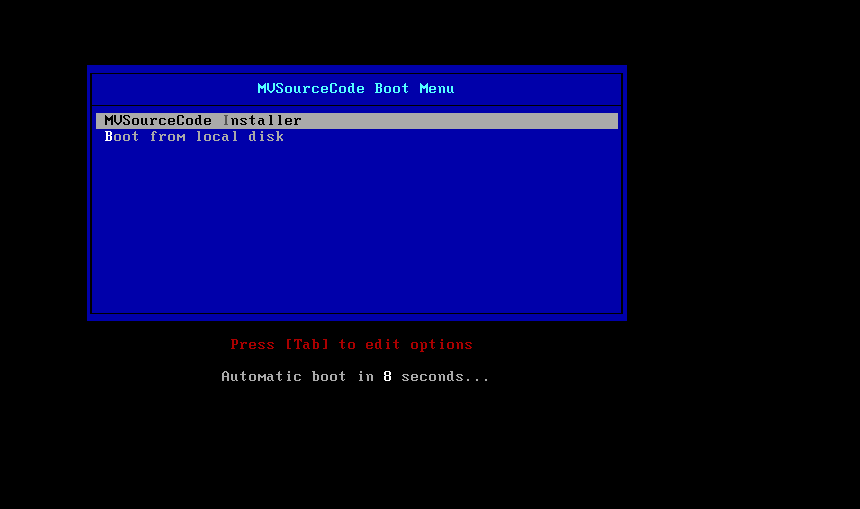
At this stage you can burn the image onto USB drive, or boot on Virtual machine.

Leave A Comment